Elemis Breakdown
This was a fun little animation we created for Elemis skincare at ManvsMachine. Many of their products contain an extract from the algae ‘Padina Pavonica’. The goal was to produce a reasonably realistic impression of this plant and show it transitioning from bundled ‘underwater’ state to a flattened layout
After sourcing photo reference we outlined the the main stages:
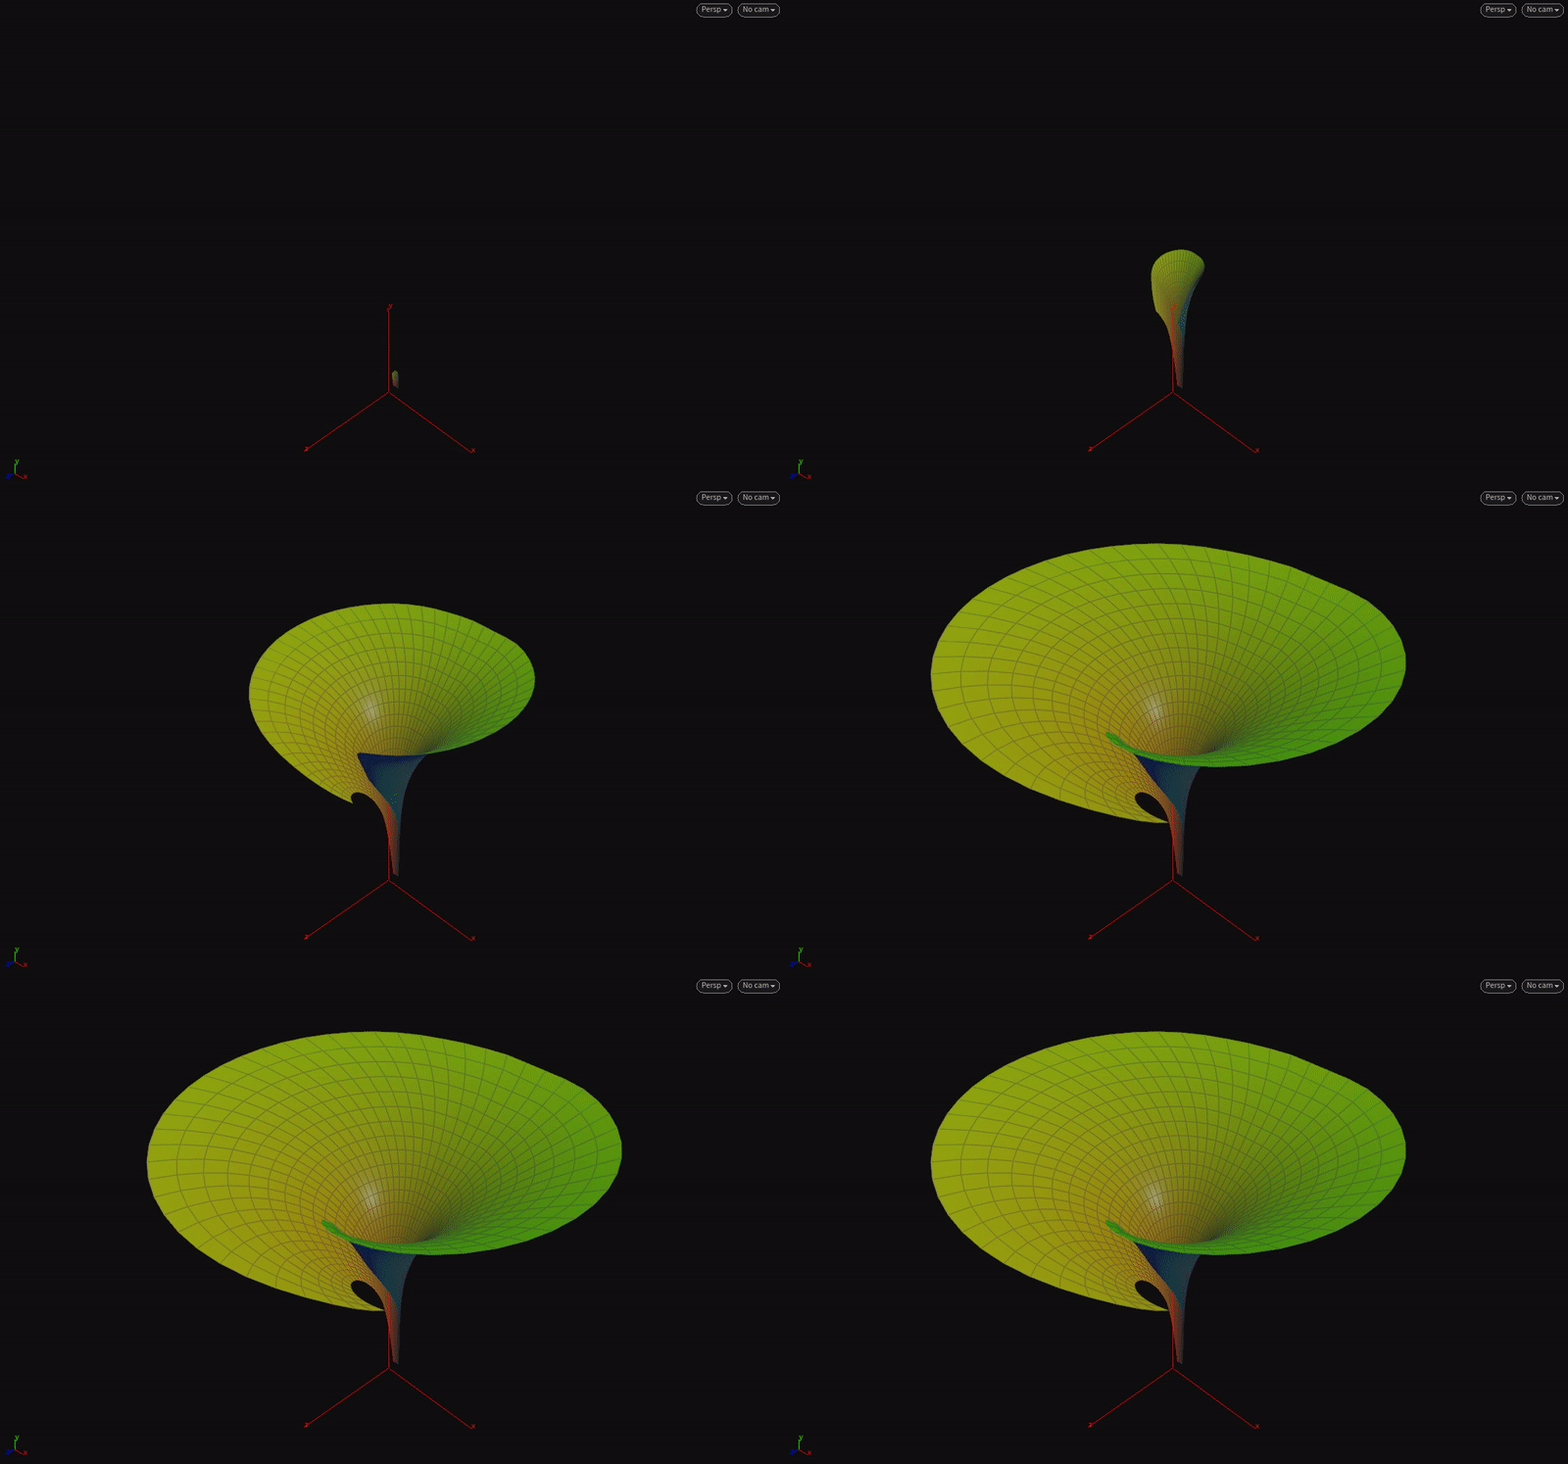
Model the curved, fan-like leaf as accurately as possible using procedural techniques so we could easily produce variations.
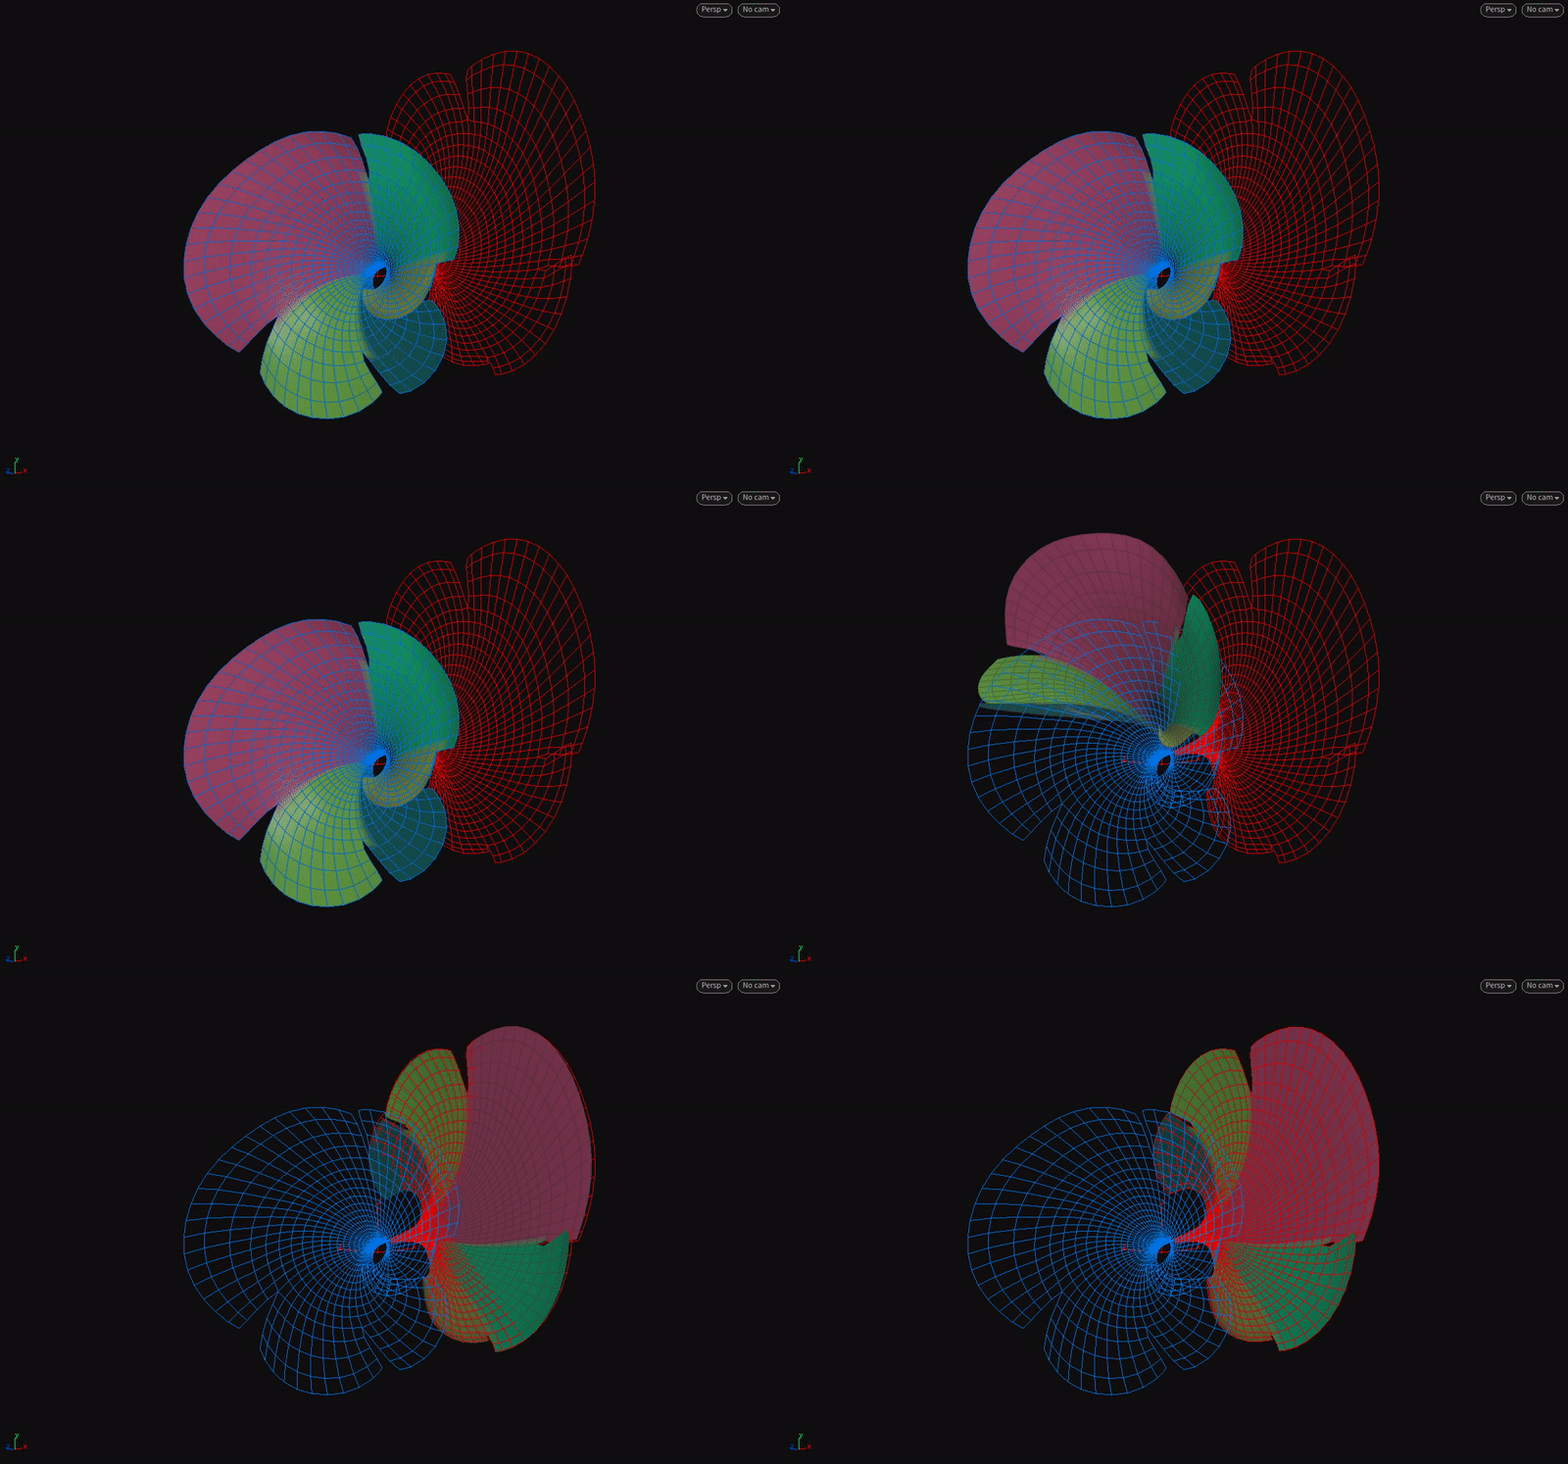
Create the flattened target state and make sure we could perform a blend from the folded state
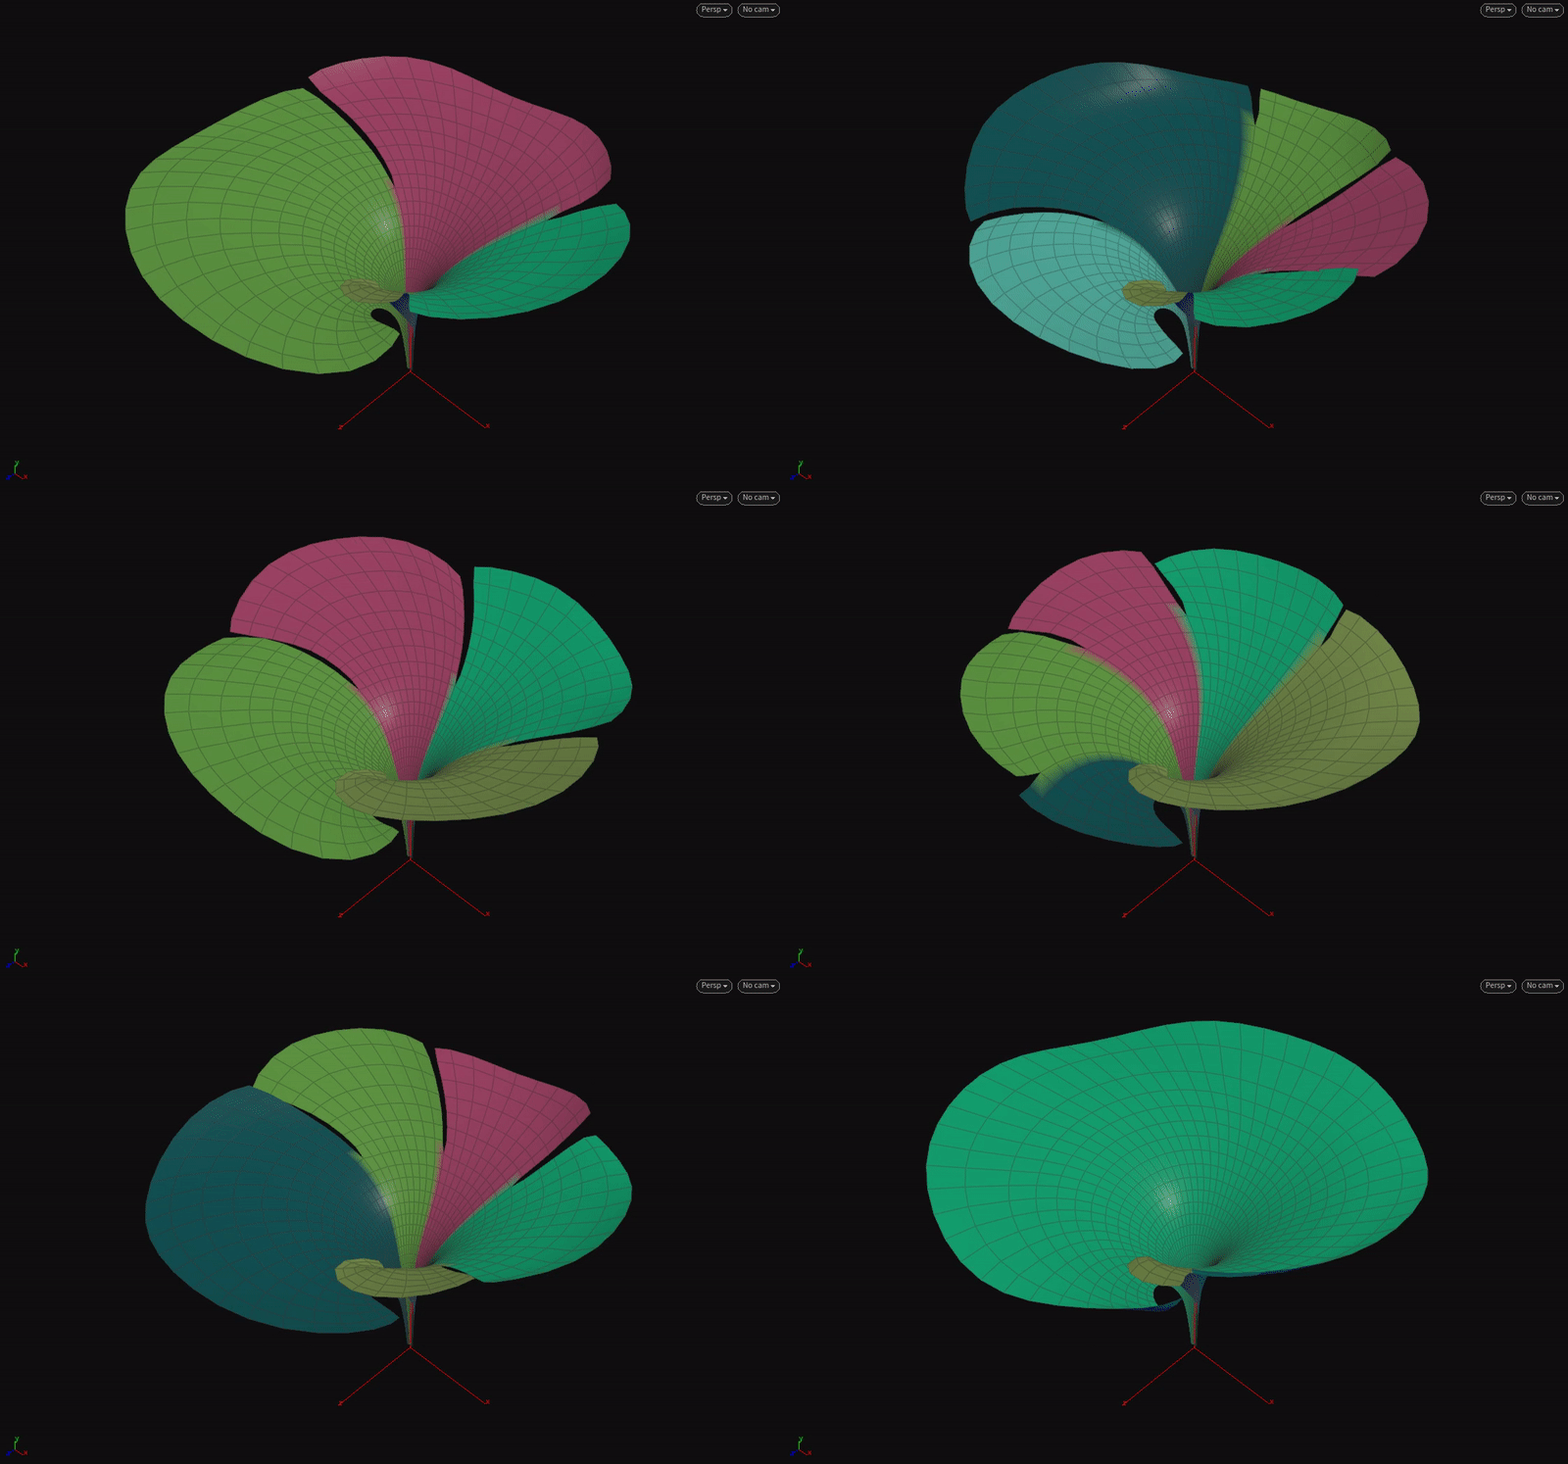
Lay out multiple leaves and keyframe the unfolding of the bundle
Inject this guide animation into a Vellum sim to produce a satisfying unfold
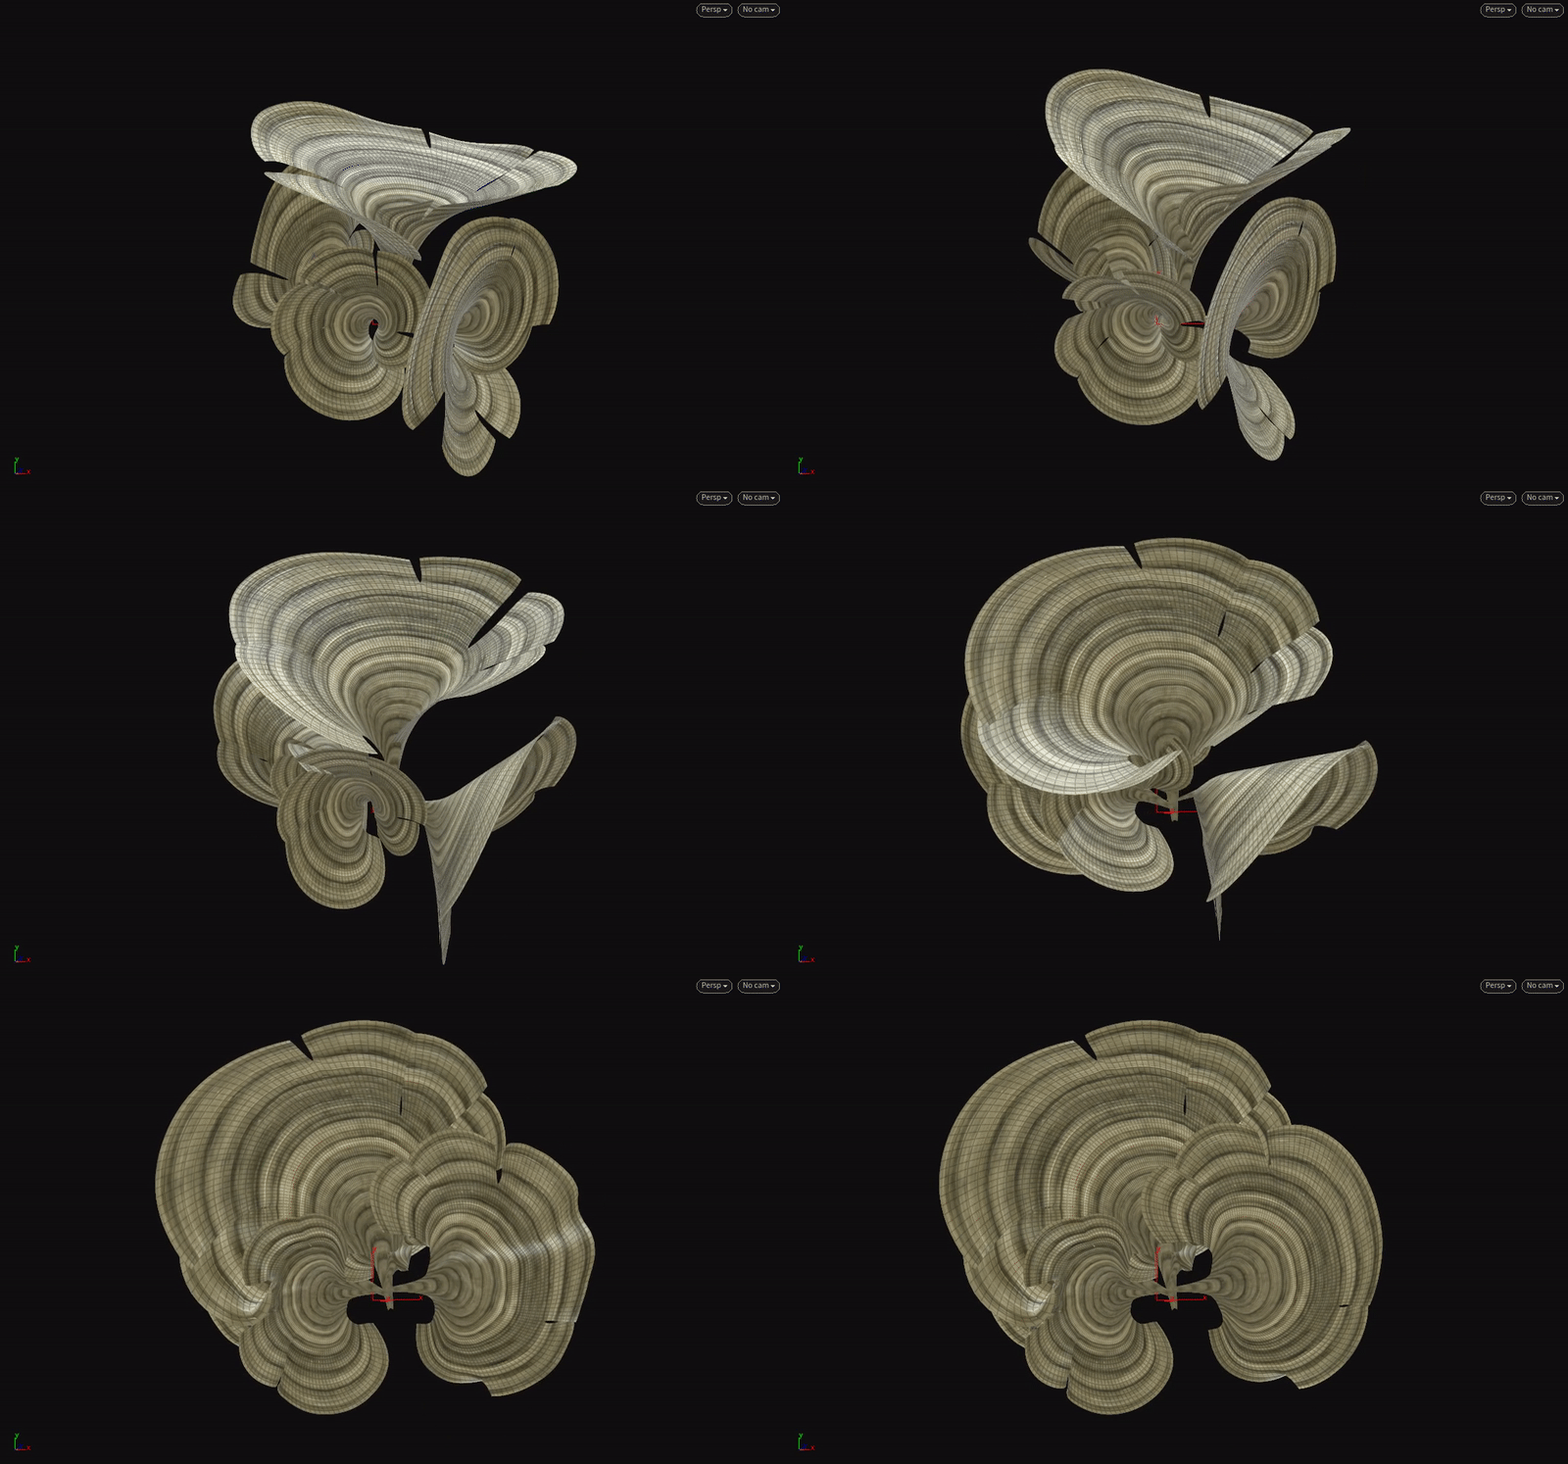
Add details to the leaves and deform the high-res layout with the sim.
Shade/Light/Render/Composite
Quite a lot to solve given the short timeframe.
Procedural Algae
Since we are unfolding to a flat target, the first instinct for modelling the leaf might be to create the flattened ‘fan’ and then work out a way to wrap this into the initial shape. However, a feature of the leaf that jumped out to me was that it grew upwards (+Z), outwards (+Radius) and expanded in angular width (+θ). A perfect fit for cylindrical polar coordinates!
I started with an arc at the origin of small radius and angular width and fed this into a SOP Solver. Each iteration took the previous arc, converted to polar coordinates, incremented R, θ and Z according to user-defined parameters, and then converted back to cartesians. By modulating the growth with the Frame number I could make the leaf grow strongly upwards first before it fanned out.
This method had the added benefit of producing grid topology once the arcs were skinned. We needed grid-based UVs for many manipulations later on, as well as detailing and texturing.
Leaf Splits
The leaf was taking shape but it was still missing splits which were a key characteristic in the references.
I initially tried doing this inside the growth SOP solver. I cut the arc randomly in 2, calculated the R,θ, and Z values in each of the new arcs and then continued growing them individually. This sort of worked but introduced problems with overlapping and was difficult to control. The post-sim approach proved much easier. The process was as follows:
Take the output of the SOP Solver and keep the arcs as lines rather than skinning to quads. Assign an index attribute to each point in each arc (the prim vertex number)
Decide on a number of cuts N to make in the leaf. Create N points with each assigned a random value x in the range 0->1 and run a feedback for-loop over N
For each iteration, cut every arc at position x using the PolyCut SOP
Assign an attribute to indentify each segment (4 cuts will create 5 segments)
Run a for loop over each segment. Flare the centre of the segment outwards and apply some noise – but only towards the top of the leaf. Skin each segment into a quad mesh
Target Shape
The lifesaver here is UV Flatten, which gives us the flattened shape we are looking for straight away. By promoting the UVs to point attrbutes and setting @P = v@uv we can preview the target shape
The target still needs to have it’s orientation, scale and root position corrected procedurally as UV flatten is inconsistent in the way it lays out UVs.
Rotation is fixed by using PolyFrame set to Texture UV and looking at the bitangent at the midpoint of the leaf root. The XY-heading of this bitangent is the angle we must rotate backwards to ensure the flattened leaf faces upwards.
Scale is sorted by comparing the areas of the folded and unfolded leaves. The approximate scale factor is pow(areaFolded / areaUnfolded, 0.5)
I also ran a Detangle SOP on the flattened leaf to resolve overlaps between segments. At this point I could take the folded leaf, set a v@target attribute on each point to store the unfolded position, and wedge as many variation as I wanted with varying heights, radii, split count and noise offsets.
State Blending
The easiest way to blend from folded to unfolded is a linear interpolation. This looks bad as it doesn’t make any attempt to preserve areas or angles during the transformation. Houdini has a little-known node called Wire Blend which performs a blendshape operation between open curves in a more natural way. When combined with some secondary motion via CHOPs or a Spring Solver this looks great.
To do this we need open curves so I unskin the leaf, Wire Blend, and point deform the original leaf using the curves.
Layout
It was necessary to create an arrangement which looked great both folded and unfolded with no leaf overlaps in either state. This requirement meant the leaves needed to rotate onto the XY plane as they unfolded. The initial layout process was fiddly – I was constantly templating and untemplating leaves and each leaf required duplication of subnetworks to orient and animate. Although I make many HDAs it’s quite rare for me to make project-specific assets which can’t be reused in future, but this was an obvious use case. I created a ‘Leaf Unfolder’ HDA with animation settings, guide geo and transform handles.
Note: During layout it was vital the v@target attribute was affected by the Transform SOP inside the HDA. You can force this using the setattribtypeinfo() Vex function
Vellum Simulation
The sim consists of a few elements:
A hard Pin to Target on the bottom 25% of each leaf
A soft Pin to Target constraint on the other points attracting the leaves into their unfolded position
A modified Vellum Rest Blend DOP to blend the rest state towards the unfolded shape. You need to crack open the node to add this behaviour. This was necessary as with only target constraints the leaves were unable to stretch fully
Wind, noise and drag forces. There were many iterations trying different leaf layouts / animation timings and Vellum settings. Luckily it was fast to simulate and I only increased the substeps at later stages.
Detailing
My colleague Tim Bolland took the base leaves and used the UVs and other attributes to create ridges, spots and variations on the Padina surface. The highly detailed (unfolded) layout was mapped onto the Vellum sim using a modified Point Deform SOP which only matches points sharing a name attribute. By assigning a unique name to every segment of every leaf the Point Deform avoided glitches due to tightly packed / overlapping geometry.
Tim also did a fantastic job with the texturing, lighting and compositing!
I can’t share the full setup but here is a scene with examples of the techniques described.


